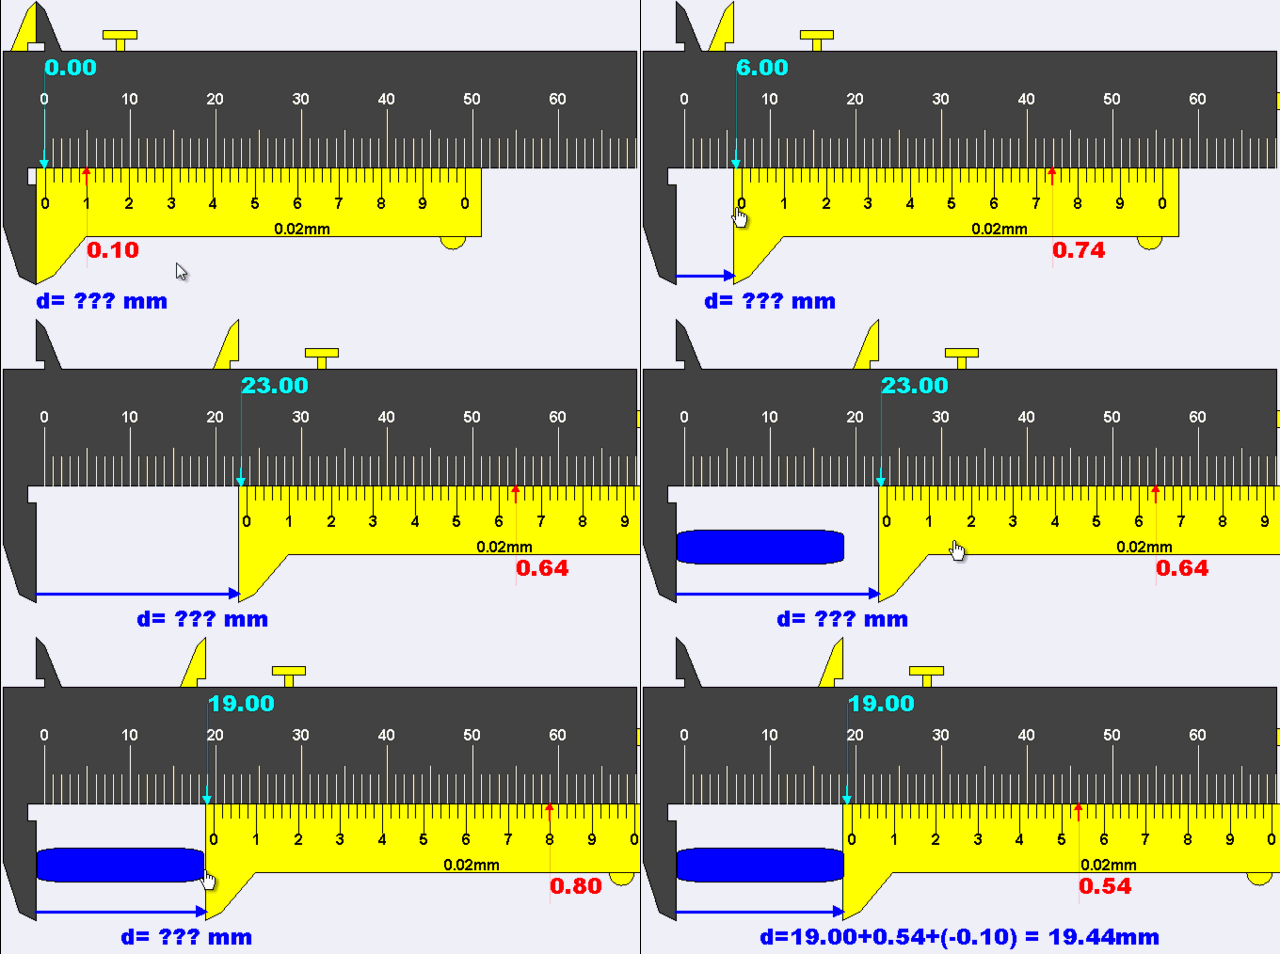
The vernier scale (VS) is a precise measuring tool used on instruments like vernier callipers, micrometres, and height gauges. Named after Pierre Vernier, who introduced it in the 17th century, it allows users to measure with greater accuracy than a standard scale alone. By adding a secondary scale with finer divisions, the VS helps increase measurement precision, reduce human estimation errors, and make readings more exact.
Key Components:

- Main Scale: Functions like a typical ruler, providing primary measurement divisions.
- Vernier Scale: A smaller, movable scale with increments that are a fraction of the main scale’s increments. When the vernier scale’s marks align with the main scale, it indicates a precise fractional measurement.
The least count or the vernier constant represents the smallest distance the instrument can measure and refers to the difference between each division on the vernier scale and the main scale.
Working Principle of a Vernier Scale

The VS works on the principle of alignment:
- Alignment for Precision: As the VS slides along the main scale, users look for the point where one line on the VS exactly aligns with a line on the main scale.
- Reading Calculation: By identifying the aligned marks, the user can add this fractional measurement (shown by the VS) to the main scale reading for a precise result.
For example, if the main scale reads 12mm, and the 3rd division on the VS aligns with a main scale line, the measurement would be:
- Main Scale Reading: 12mm
- Vernier Scale Reading: 3 x 0.02mm = 0.06mm
- Total Measurement: 12mm + 0.06mm = 12.06mm
The length of ‘n’ divisions on the VS is equal to n-1 divisions on the Main Scale.
10 divisions of MS = 10 mm
1 division of MS = 1mm
The VS is one division less than the main scale (1 mm less)
Therefore:
10 divisions of VS = 9 mm
1 division of VS = 9/10 mm= 0.9 mm
Vernier Constant (Least Count)
The difference between one division on the main scale and one division on the VS represents the least count (or vernier constant) of the instrument. This is the smallest measurement that can be accurately read with the vernier calliper.
Least Count = 1 division on MS – 1 division on VS
Least Count = 1 mm − 0.9 mm = 0.1 mm
The Least Count (LC) of a vernier calliper can also be expressed using the formula:
$$LC = \frac{1}{N} \times P$$
where:
- N is the total number of divisions on the VS,
- P is the Pitch which represents the value of one division on the main scale.
This formula calculates the smallest measurable value or the “Least Count” by dividing the main scale’s division value by the number of divisions on the vernier scale. This gives the smallest difference that can be read between the main and VS.